This month we’re focusing on the Education Sector.
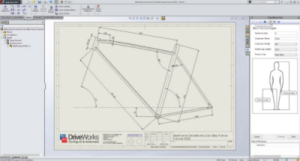
Our Tech Team have created a tutorial in DriveWorks Solo for configuring a bicycle frame that we want to share with schools and colleges throughout the world.
The tutorial provides an introduction to using the software, so we decided to test it on our marketing intern Danielle. Let’s find out how she got on…
Hi everyone. As part of our spotlight on Education I was asked to test the Bike Frame tutorial that our Tech Team have created. This was my first experience of using SOLIDWORKS and DriveWorks Solo so I was a bit nervous about getting lost!
Before I started I decided to read the manual to familiarize myself with terminology. Once I’d gotten to the end I felt very confident that I’d be able to complete the tutorial and decided to get stuck in!
As I’d never even used SOLIDWORKS before it was quite daunting, however the DriveWorks Solo manual was really useful and contained many screenshots that helped me to locate things within SOLIDWORKS.
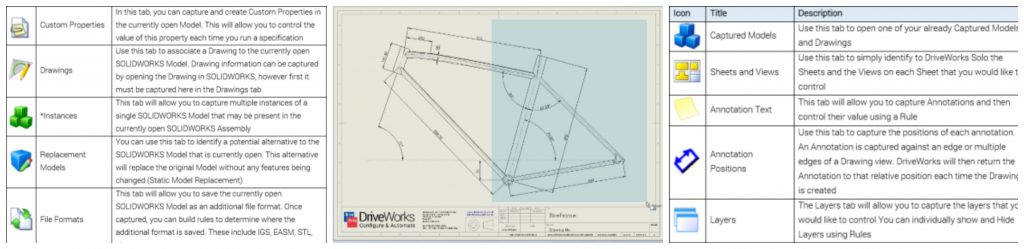
I found it really useful that the manual explained, in depth, the first steps of setting up the project and how to capture the model data. Capturing and renaming the dimensions and features was really straightforward and I flew through this section of the tutorial.
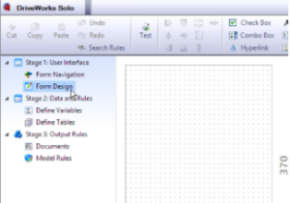
Setting up my form in DriveWorks Solo was really easy and I really enjoyed being able to customize it and change the colors and location of the text boxes. The form designer was really flexible and it only took 5 minutes to create my form.
Next we moved onto rules…the part I was dreading…as a non-technical person I was convinced that when I got to this section I’d have to ask for help as I wouldn’t be able to set it up myself. As I progressed through this stage of the tutorial I was so relieved at how simple this was!
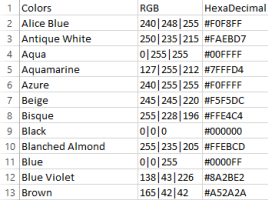
I set each rule up successfully and linked to the information in my form without any issues at all. Even setting up the table to pull through my color values took no time at all. As there are specific explanations for each rule it was simple to set up and understand without needing any prior technical knowledge.
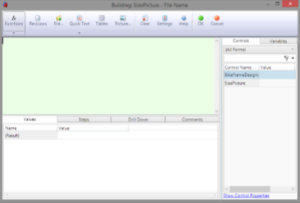
When I ran my model to test it I was really happy that it all seemed to be working! Next I had to tackle the drawings.
Again this part of the manual had a table that explained the features in detail and how to use them. This was particularly useful when capturing the custom properties that I needed to link to on my drawing. Once I’d captured my drawing parameters, I then moved on to creating another set of rules to link the information entered on my form to the drawings.
At this point, I was feeling quite confident about building rules as the previous process had been so simple. I even managed to successfully create variables for the drawing scale sheet and the explanation of the calculations was actually making sense to me!
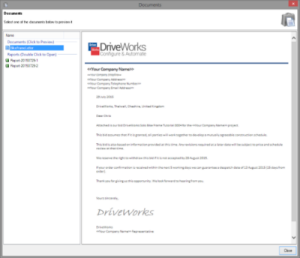
This made it really easy to create the accompanying documents and pull the customer’s information through from my form. I liked the fact that the document templates for the Quote and covering letter were already set up inside DriveWorks Solo and all I had to do was write the rules. I previewed the covering letter and it looked very professional and saved so much time compared to setting up my own document from scratch.
As a non-technical person I found it really reassuring that the software was so easy to use and I’d definitely recommend this tutorial to anyone who’s interested in understanding how DriveWorks Solo automates SOLIDWORKS. It really does show what the software can do and how easy it is to use.
Try it and let me know how you find it!