Great Software is Not The Only Thing Our Developers Can Create…
Back in December, we blogged about the DriveWorks Christmas party where we put our project management skills to the test and organised a weekend of celebrations.
Ben, a Software Developer here at DriveWorks has been a huge fan of craft beer for a very long time, he even brewed beer for all of the guests at his wedding!
Of course, Ben was keen to be part of the bar team and got stuck in straight away, brewing a beer to share with us all at our Christmas celebration.
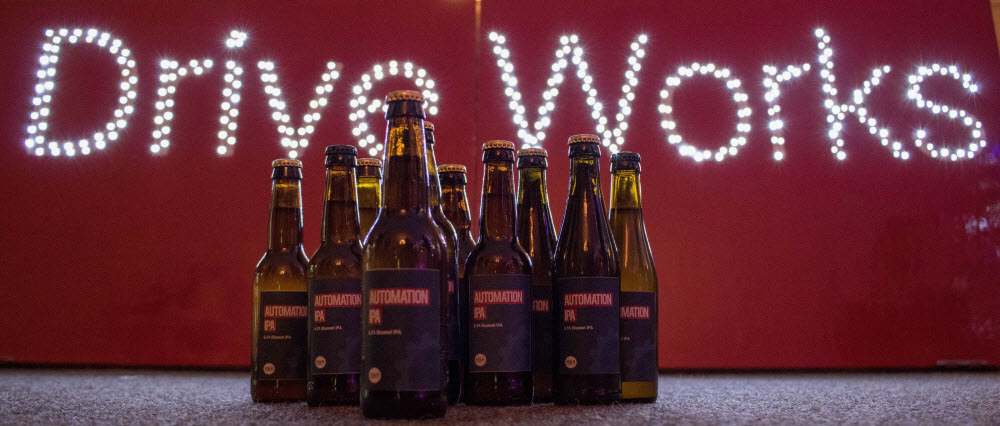
And so, Automation IPA was born!
After we posted our blog, quite a few of you got in touch with us to say how much you would like to try Automation IPA. Unfortunately, it was a great party so none of the bottles of Automation IPA made it home with us…
However, Ben has been busy crafting two more batches of Automation IPA! The first batch is now brewing and we’re going to be serving it on Tuesday night at DriveWorks World 2018.
Here’s Ben’s brewing process so far…
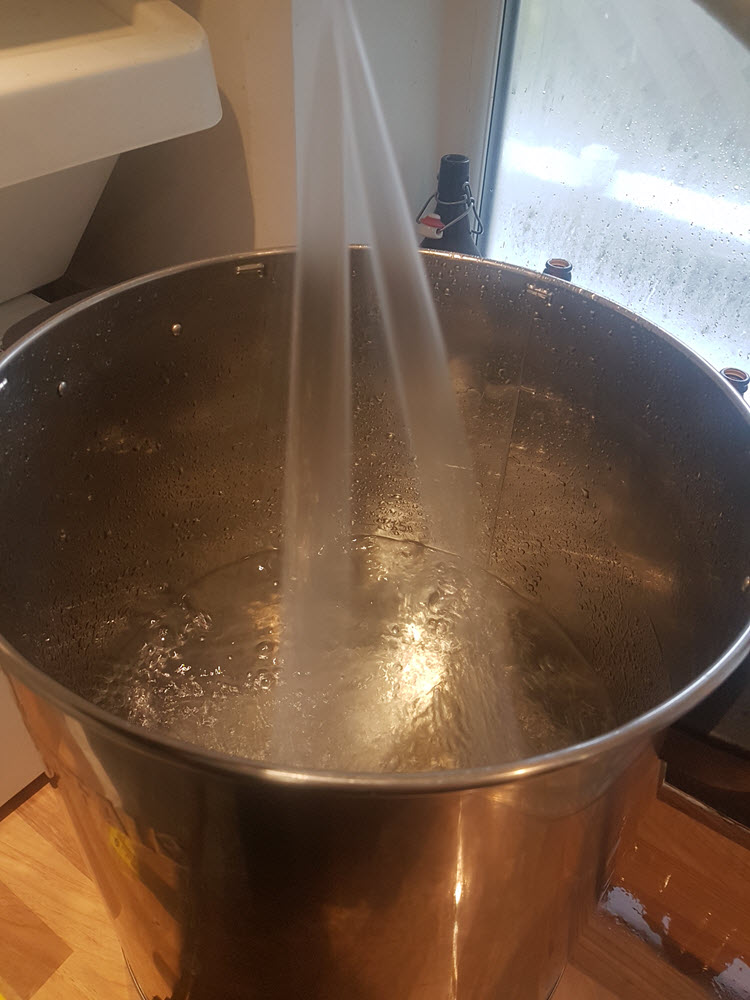
Step 1: Preparing the Water
14 litres of water added to the kettle, heated to around 73°C.
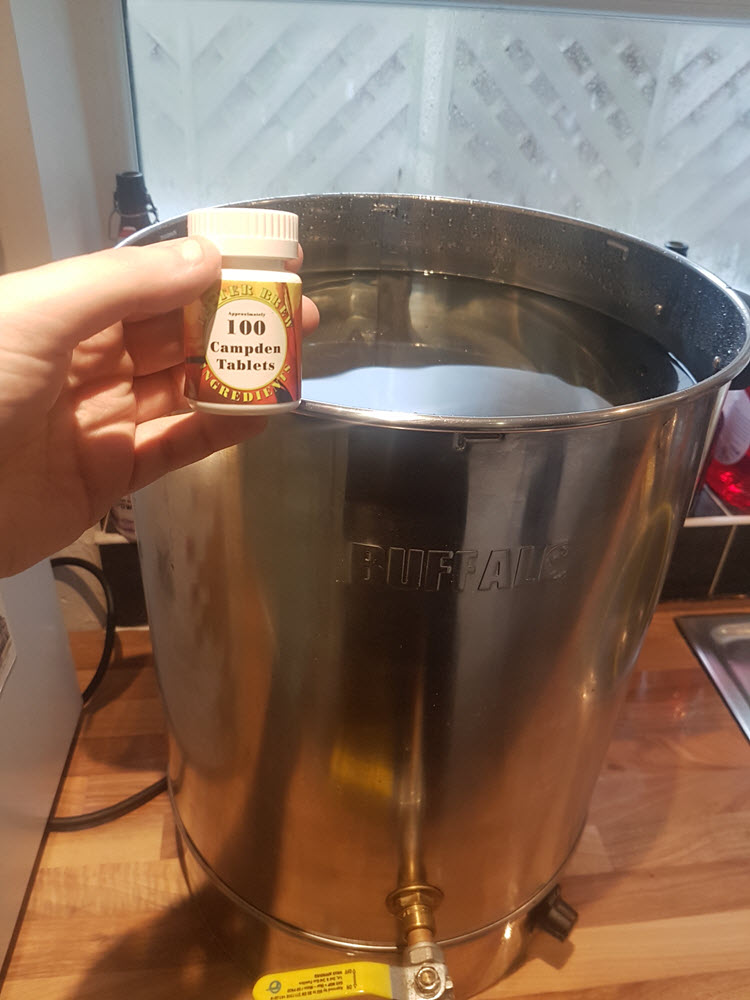
A Campden tablet is added to drive off any unwanted chlorine and kill off any natural/wild yeasts.
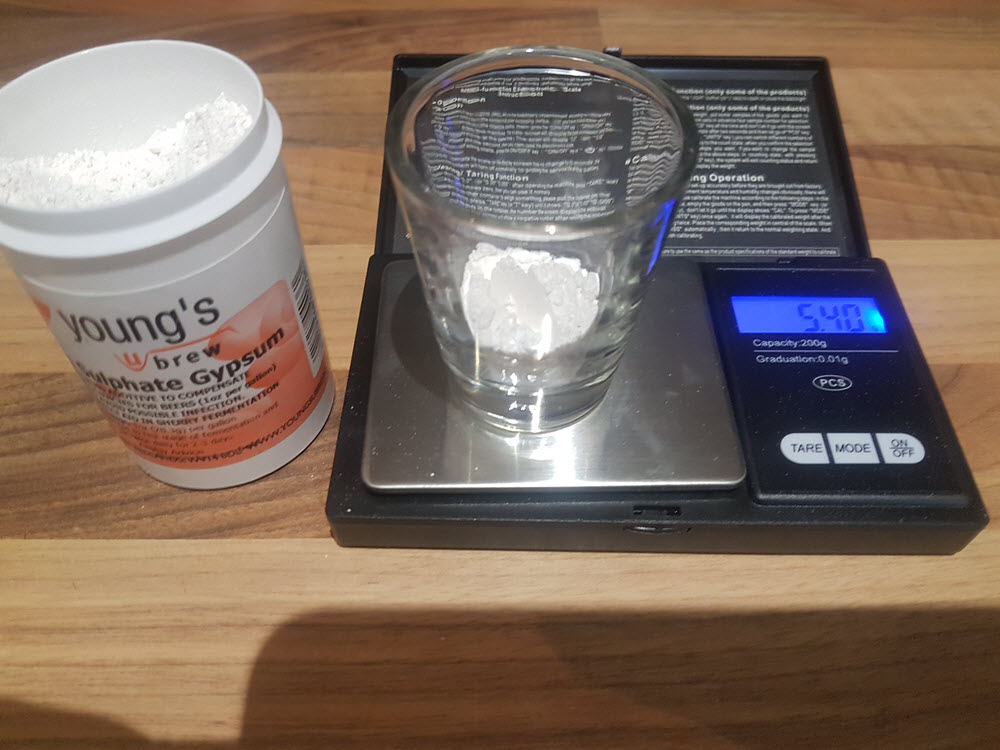
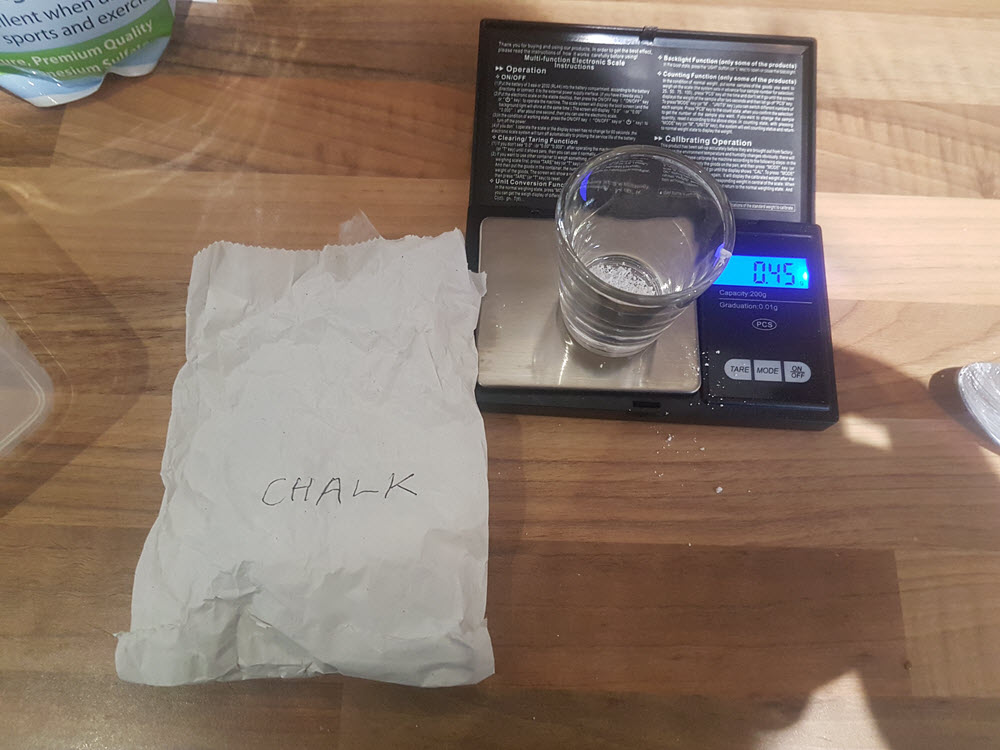
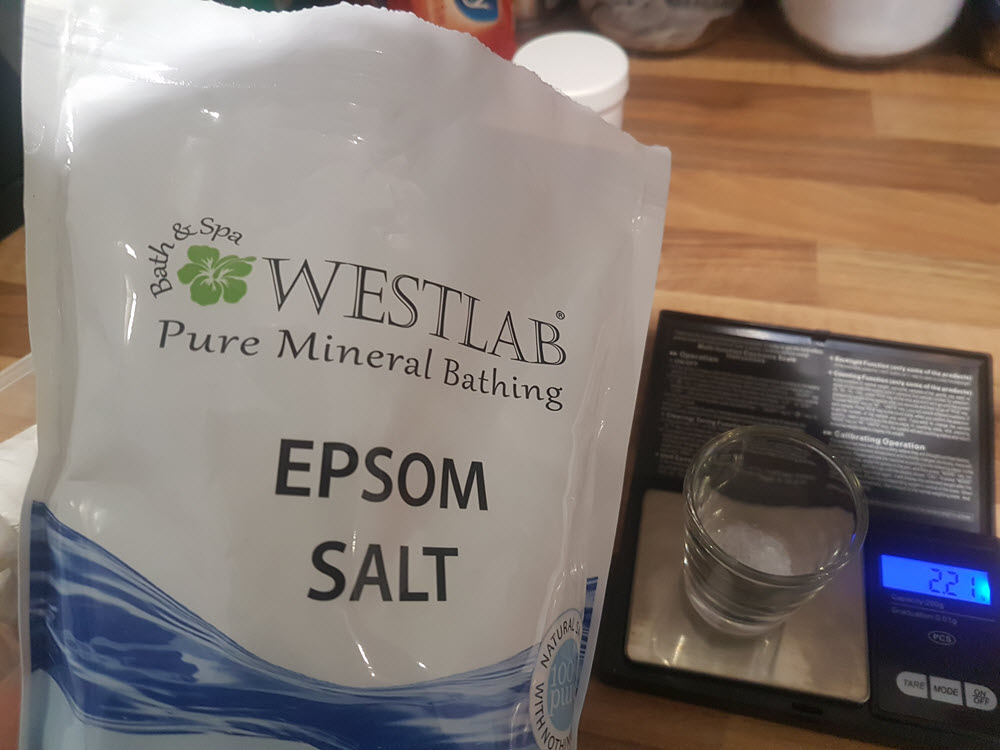
Gypsum, chalk, Epsom salt and table salt are added next.
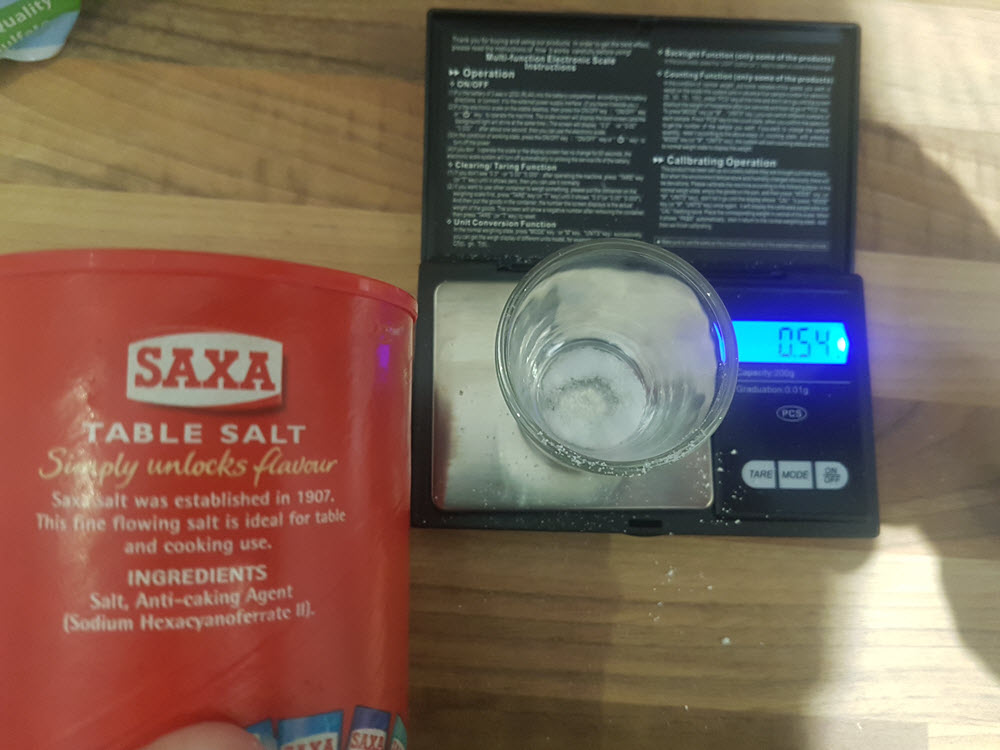
Ben’s Beer Brewing Tip:
As beer is 95%+ water and not all water is the same (i.e. different mineral contents depending on where you live, whether it’s hard or soft etc), it’s worth spending some time making sure that the water tastes good and is optimum for the yeast to work its magic in.
I adjusted my home water supply to match a water profile that is better at enhancing hop aromas so it would be suited to this style of beer.
Step 2: Weighing Out the MaltsThe amounts used are specific to my water supply which I determine from a water treatment spreadsheet.
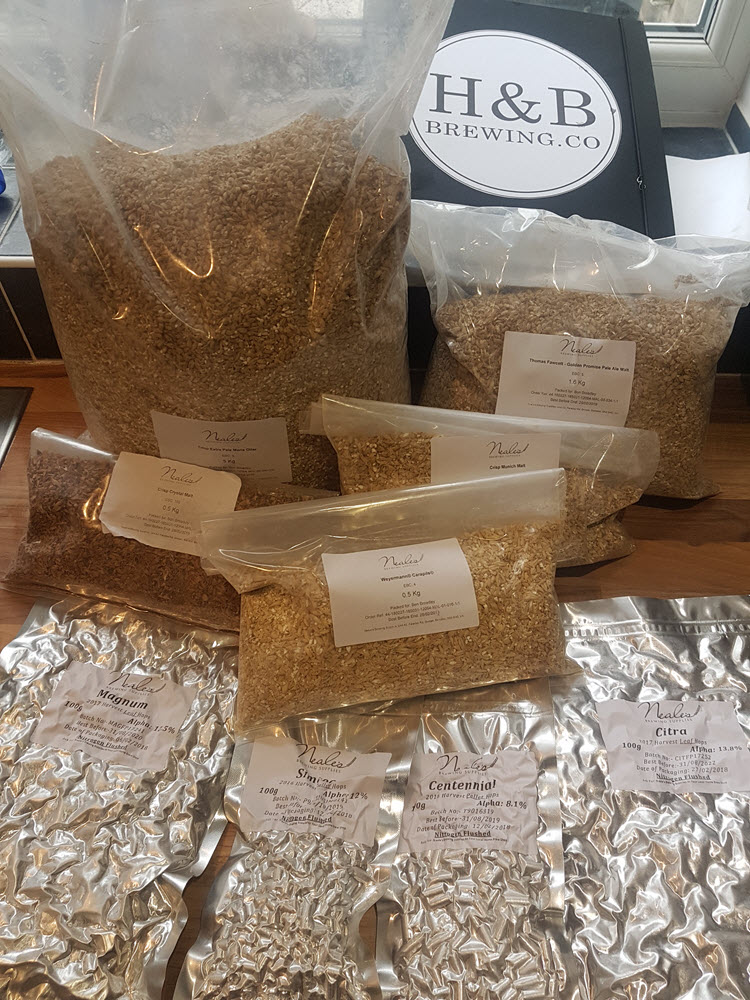

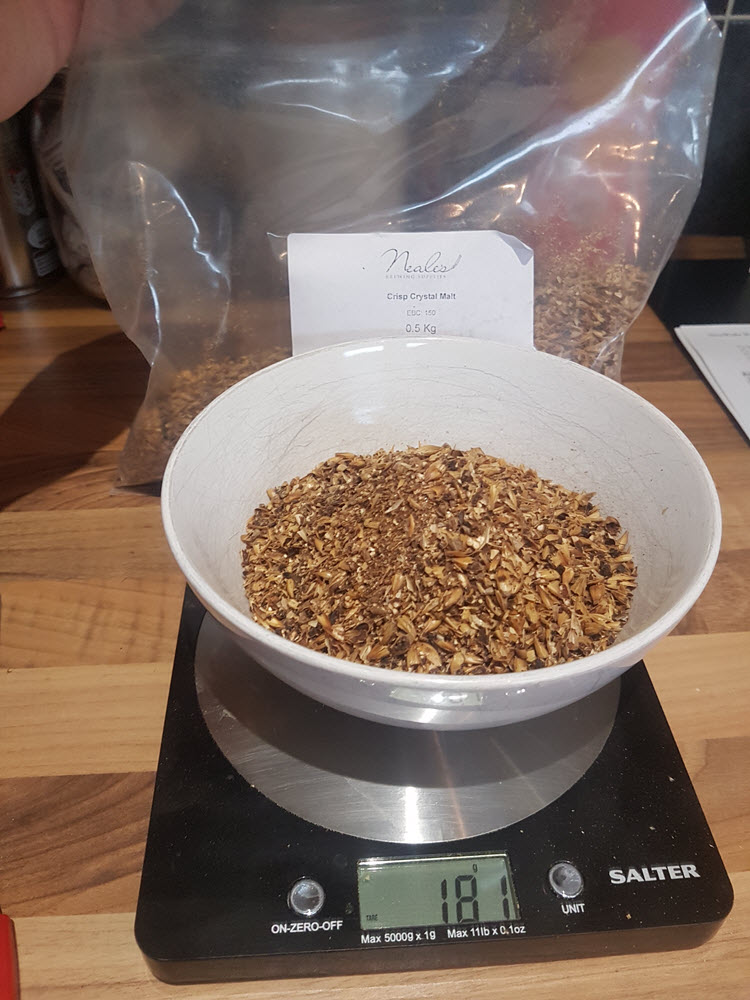
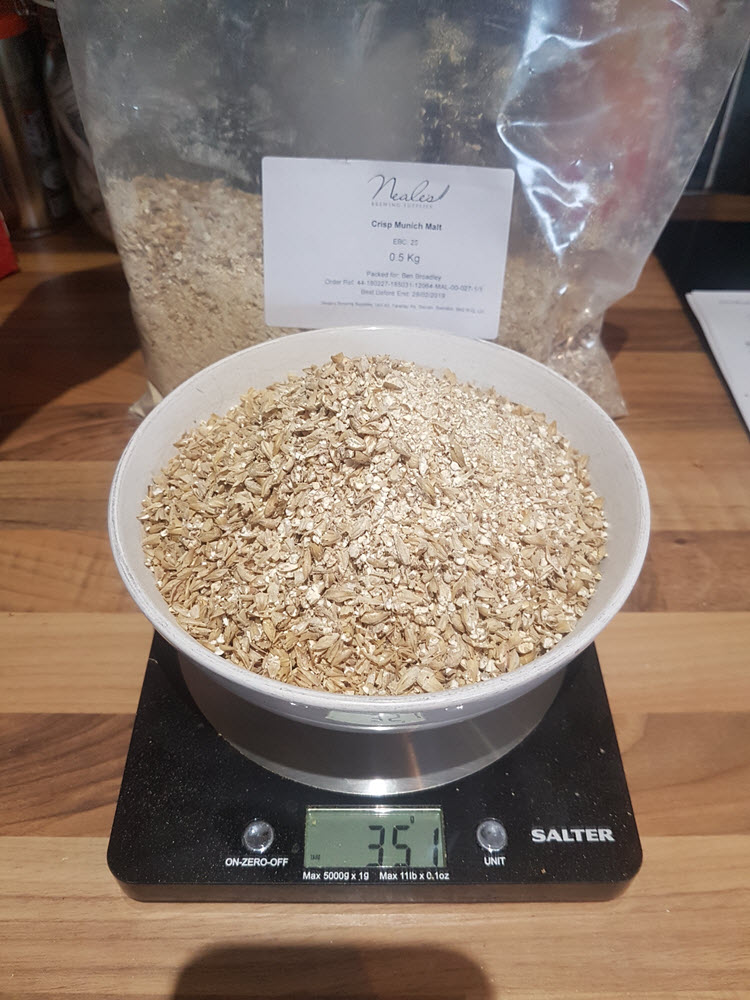
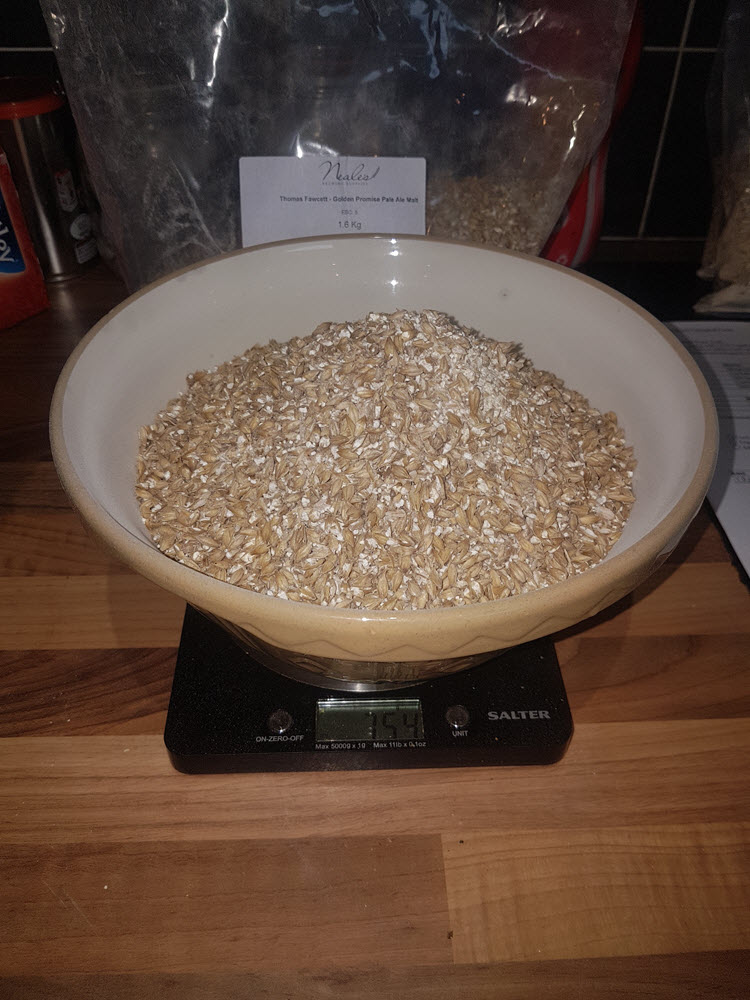
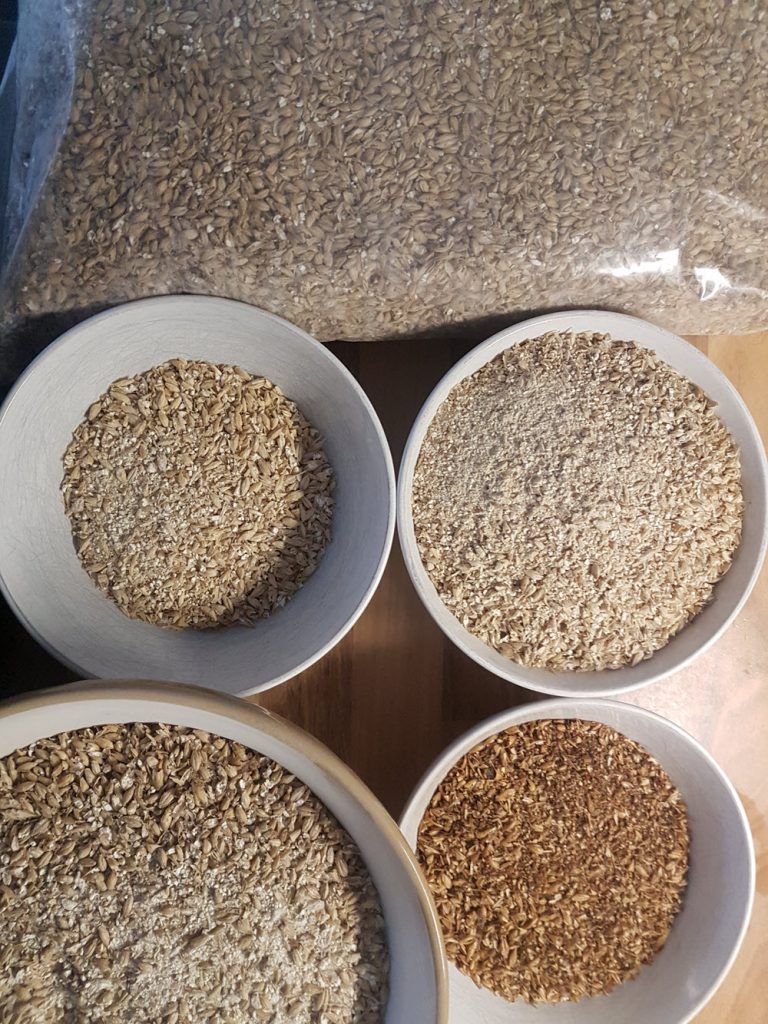
Ben’s Beer Brewing Tip:Each malt has its own taste, sugar content and colour – hence I’ve used a combination of 5 different types.The Maris Otter Malt is our base malt (which could be substituted for American two-row) and that’s used for its sugar content. Golden Promise should add some sweetness, Crystal Malt adds sweetness and colour. The Cara Pils helps the beer retain a frothy head, and improves the beer’s mouthfeel and body.
Step 3: Mashing In
The heated water, known as Strike Water, is transferred to the Mash or Lauter Tun.
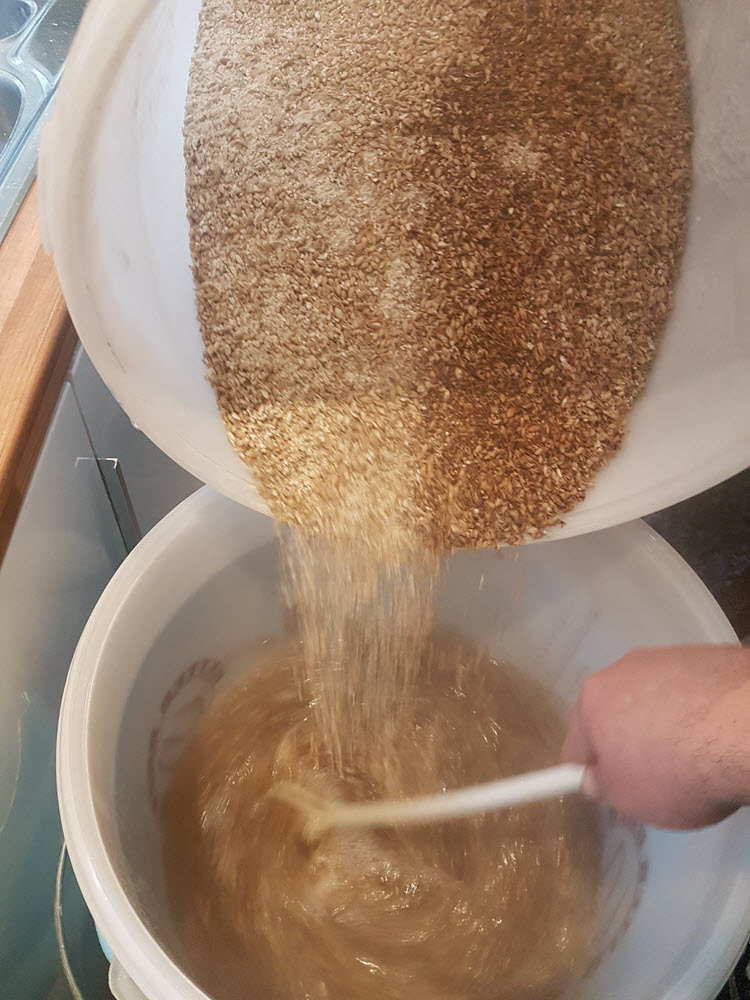
The ‘Mashing In’ starts, the grains are added to the hot water to extract the sugars from the grain, known as ‘grist’.
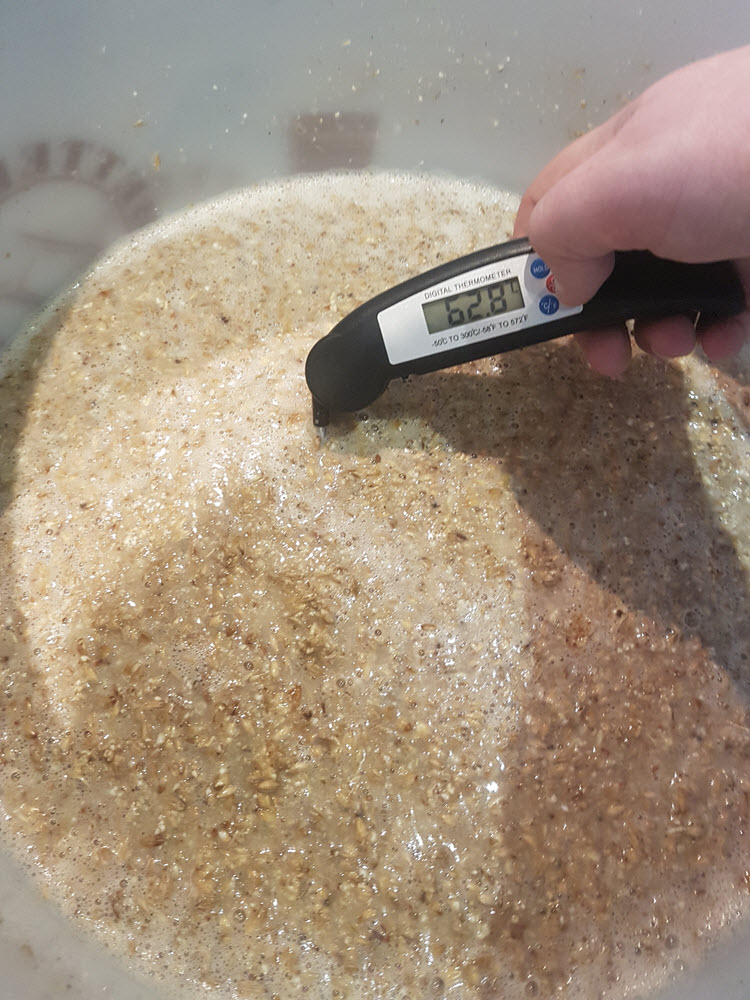
The temperature drops a little when adding the cold grain to the hot water. The temperature is checked to make sure it is still within an acceptable range.
Ben’s Beer Brewing Tip:
Different temperatures at this stage change the way that the grains release their sugars. As a general rule, higher temperatures result in less fermentable sugars, therefore sweeter beer.
The hot water/malt now sits for 75 mins, known as The ‘Saccharification Rest’.
Step 4: Sparging
Meanwhile, a 20L batch of water, known as ‘Sparge Water’ is prepped.
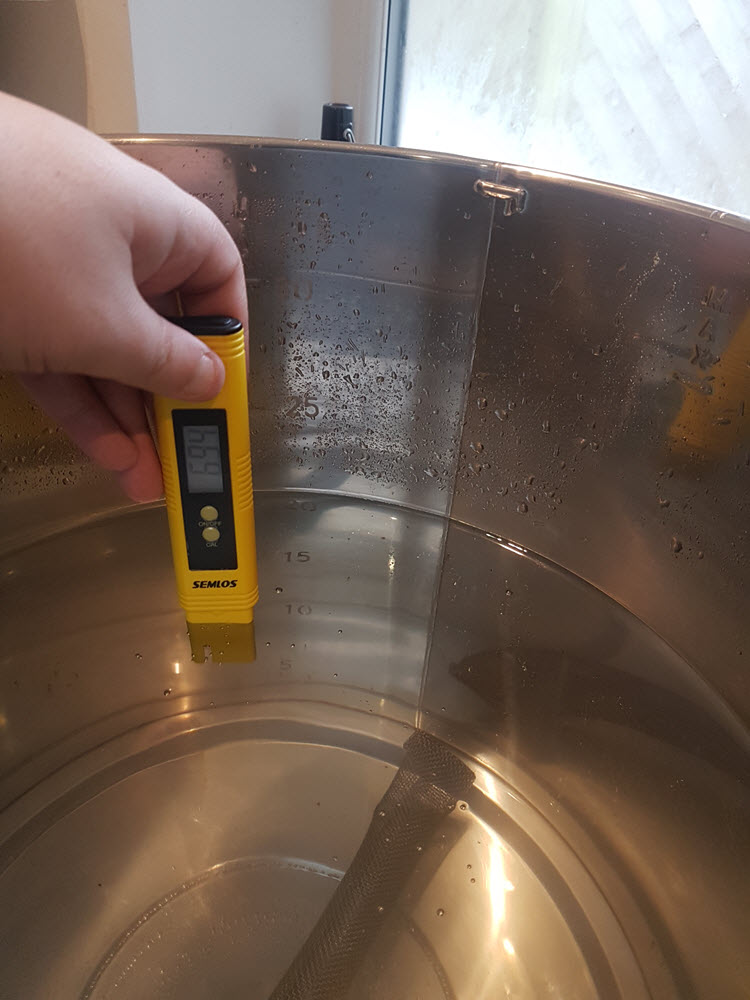
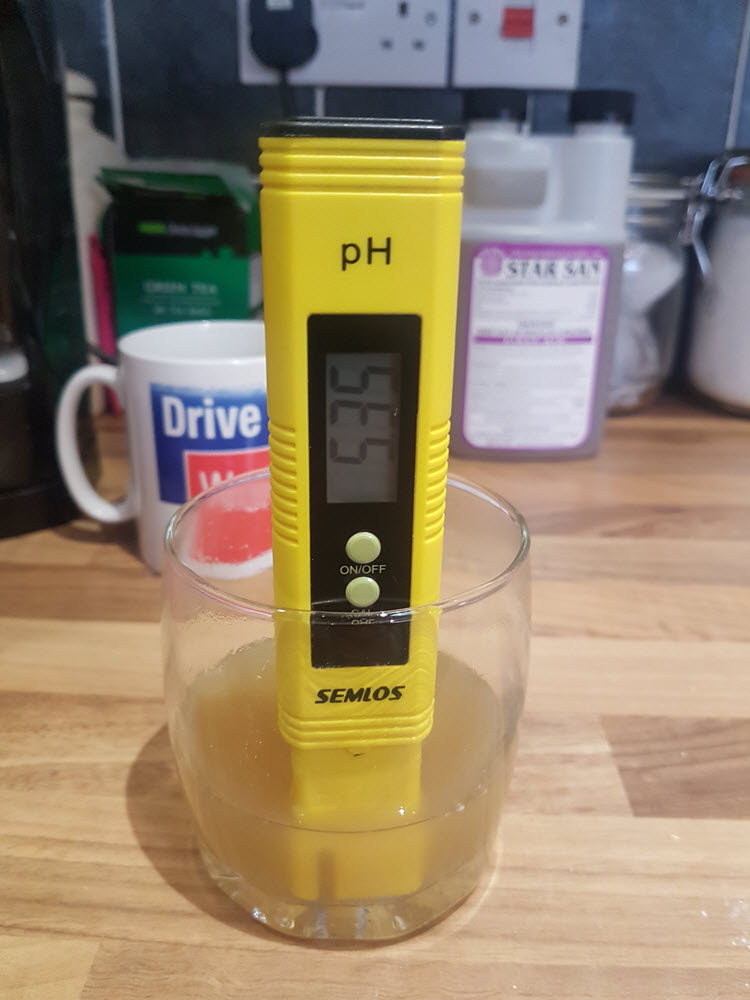
Again this water is treated for taste and this time the PH levels are also checked.
The PH level of the ‘wort’, the sugary water that comes from the grain mix, is also checked.
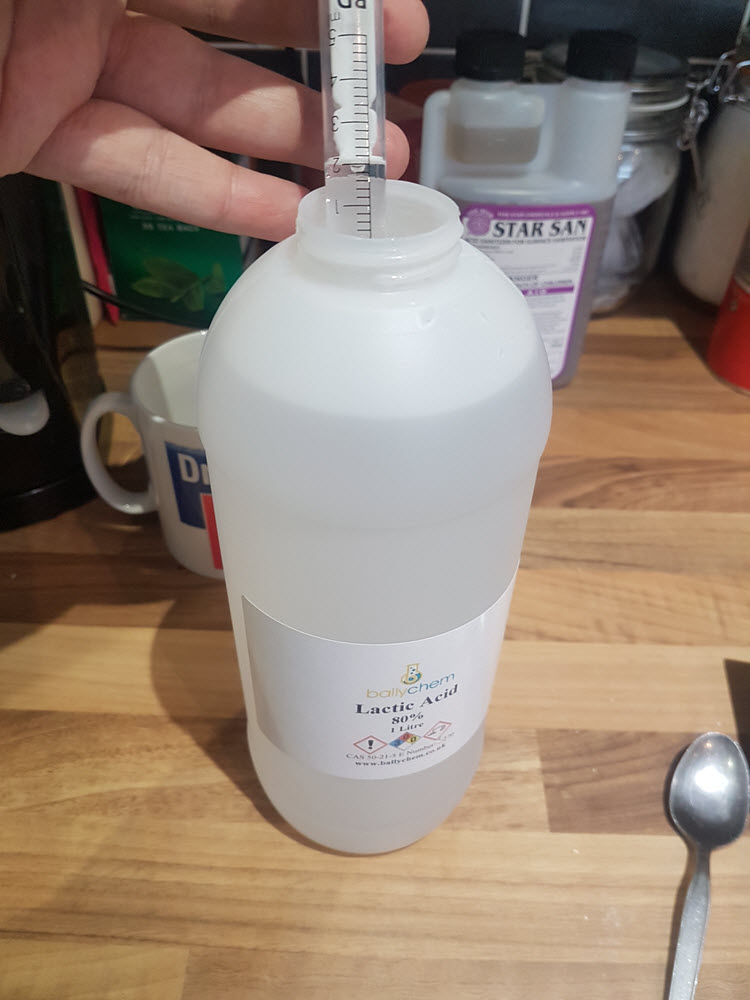
A couple of ml of Lactic Acid is then added to the sparge water.
Ben’s Beer Brewing Tip:
Notice the DriveWorks mug – don’t brew without a ‘brew’!
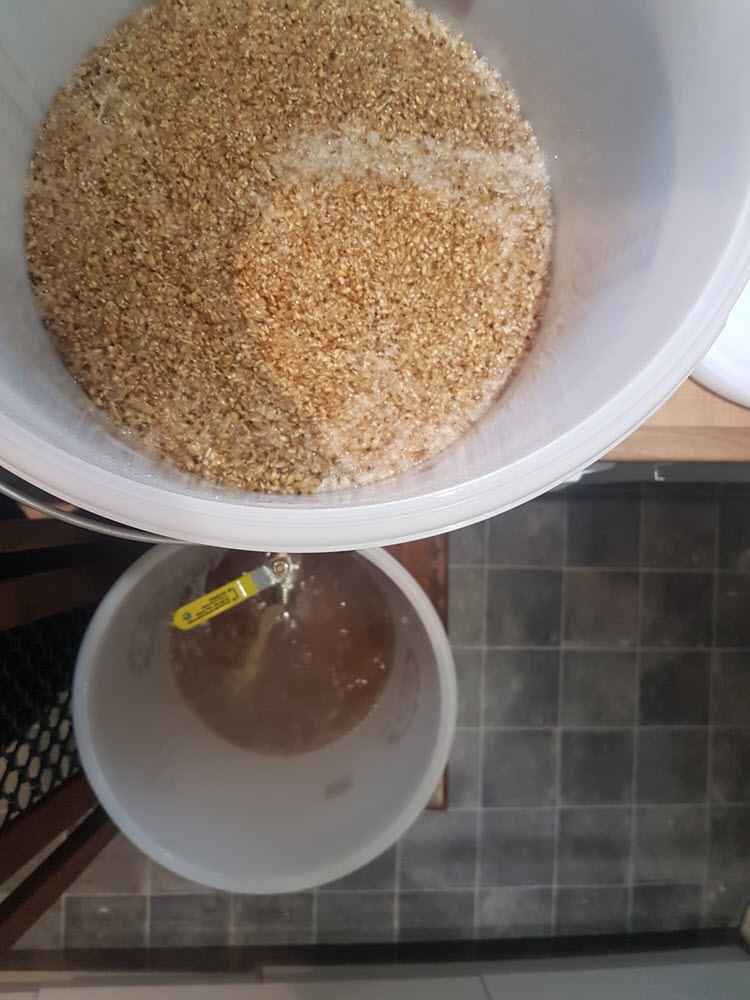
The wort is drained from the mash tun, the first few litres are recirculated (a process known as ‘varlaufing’) to help keep small bits of grain that get through the filters in the mash tun and out of the wort.
The ‘first runnings’ are drained into a bucket – these will get transferred back to the kettle shortly.
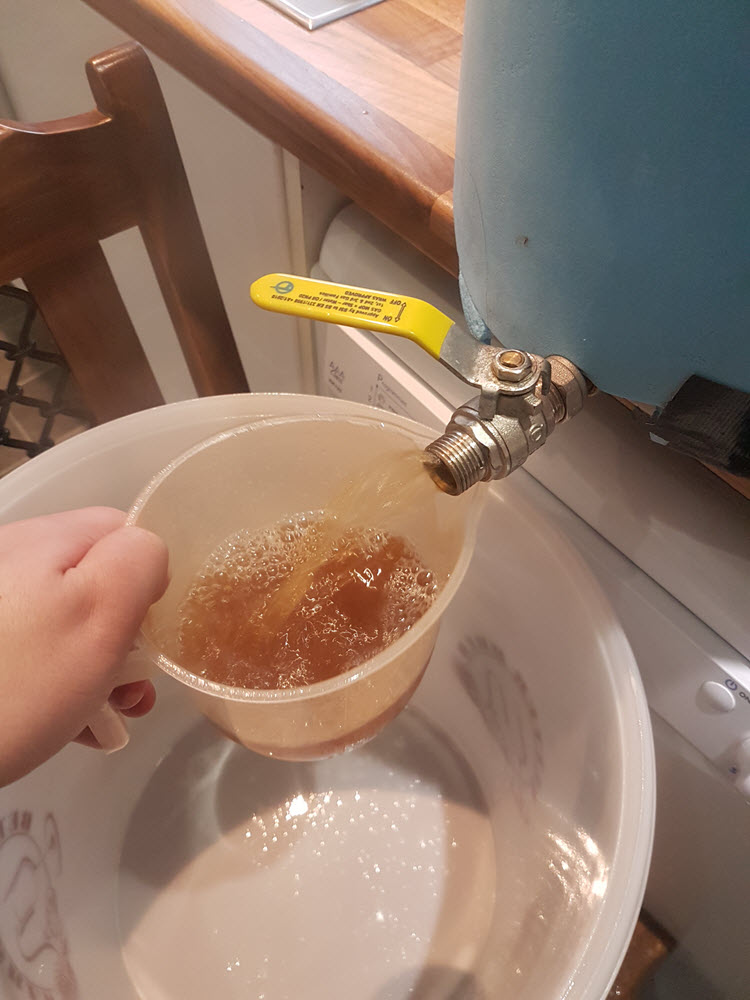
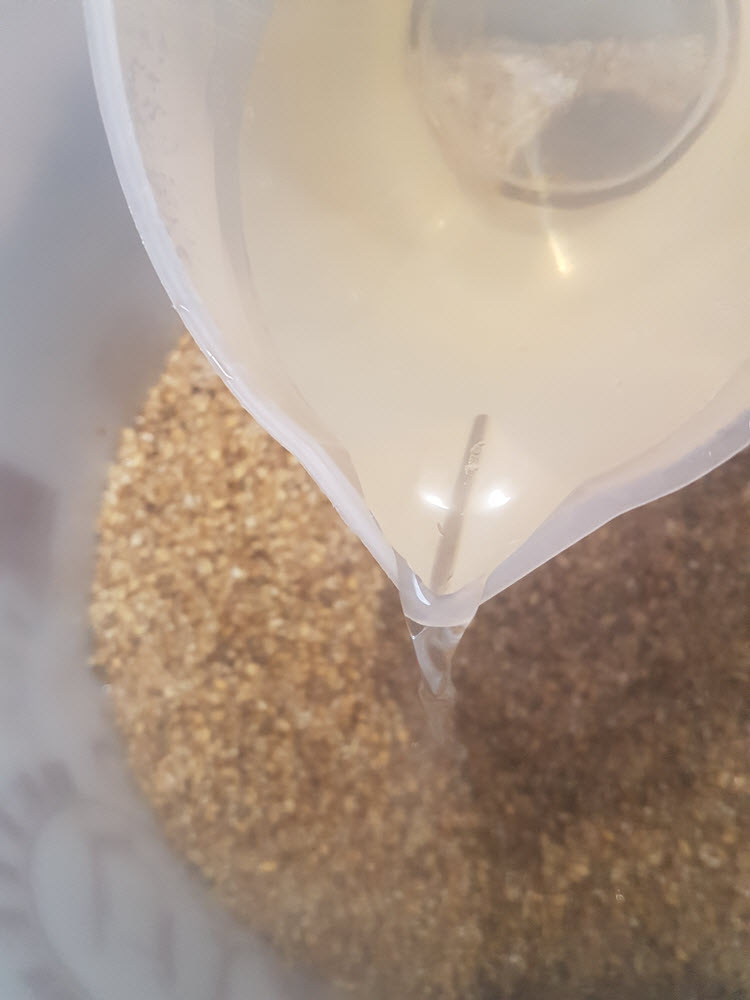
The ‘sparge water’ (at 76°C) is poured through to wash any remaining sugars from the damp grain, known as ‘sparging’.
The sparge water flows straight through the grain – you’ll notice that the colour of the liquid exiting is much lighter than in the previous pictures as there are fewer sugars in it.
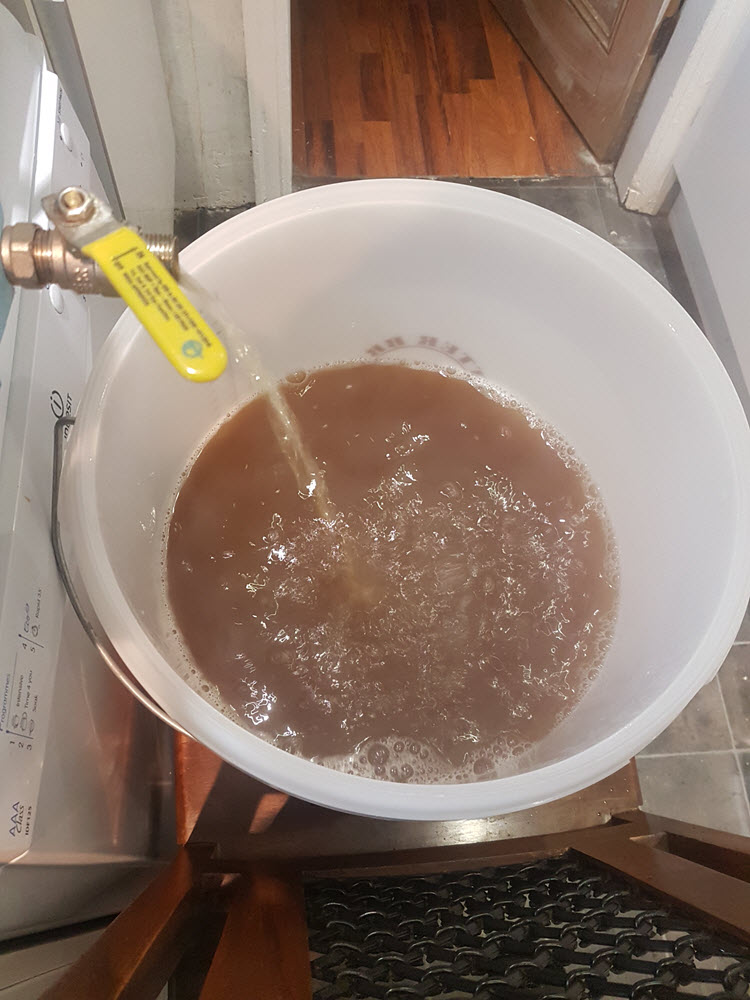
The running’s from the mash tun are then returned to the kettle.
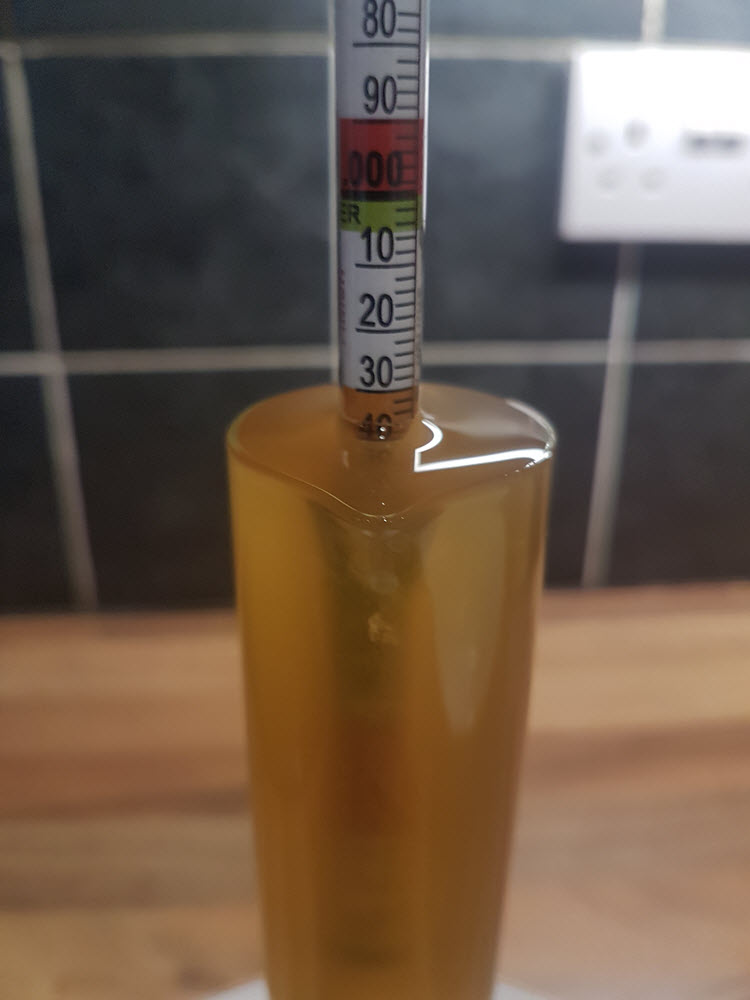
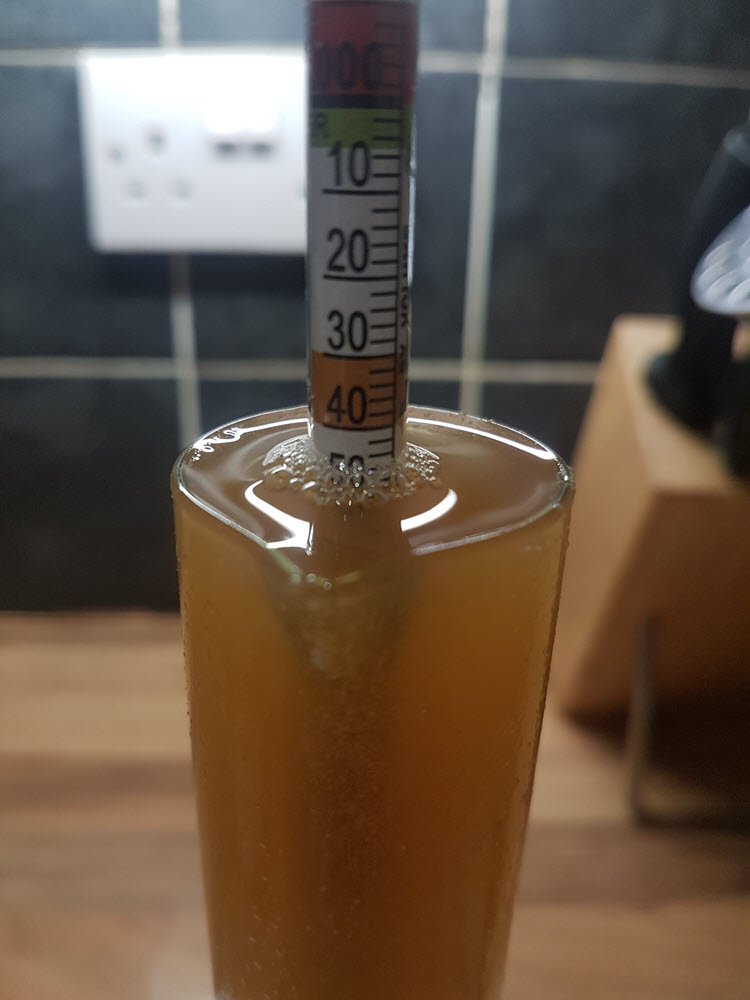
A sample of the wort is taken to measure the viscosity.
The thick sugary water makes the hydrometer float higher in the liquid and gives a pre-boil gravity reading of 1.036.
Step 5: Adding the Hops
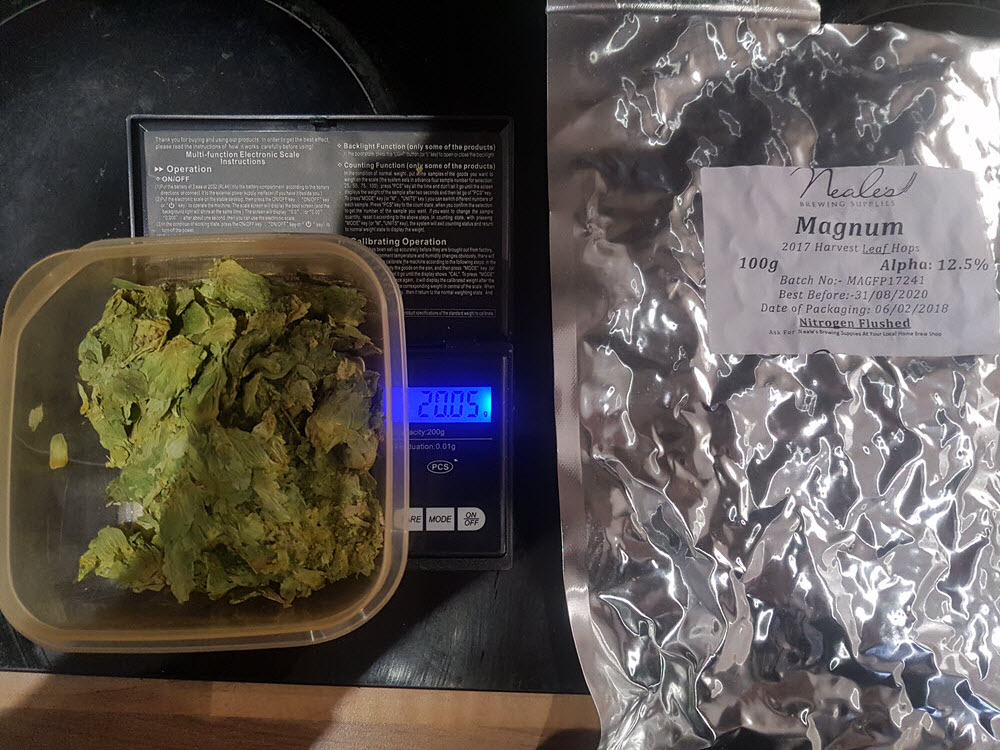
First, the hops are all measured out. Some of the hops are added twice at different times and in different quantities. Magnum is our bittering hop, Centennial and Simcoe are the aroma hops, we’ll then dry hop towards the end of fermentation with Citra and additional Simcoe.
Once the pot is boiling another 75-minute timer is started.
Magnum bittering hops are added straight away and stay in the beer for the next couple of hours.
The hops were vacuum packed before and expand when they get wet – usually, they get broken up but one managed to stay whole!
The other hop additions are as follows:
- 20g Magnum at 75 minutes remaining
- 10g Centennial at 10 mins remaining
- 5g Simcoe at 10 mins remaining
- 15g Centennial at 5 mins remaining
- 10g Simcoe at 5 mins remaining
Step 6: The Cooling Process
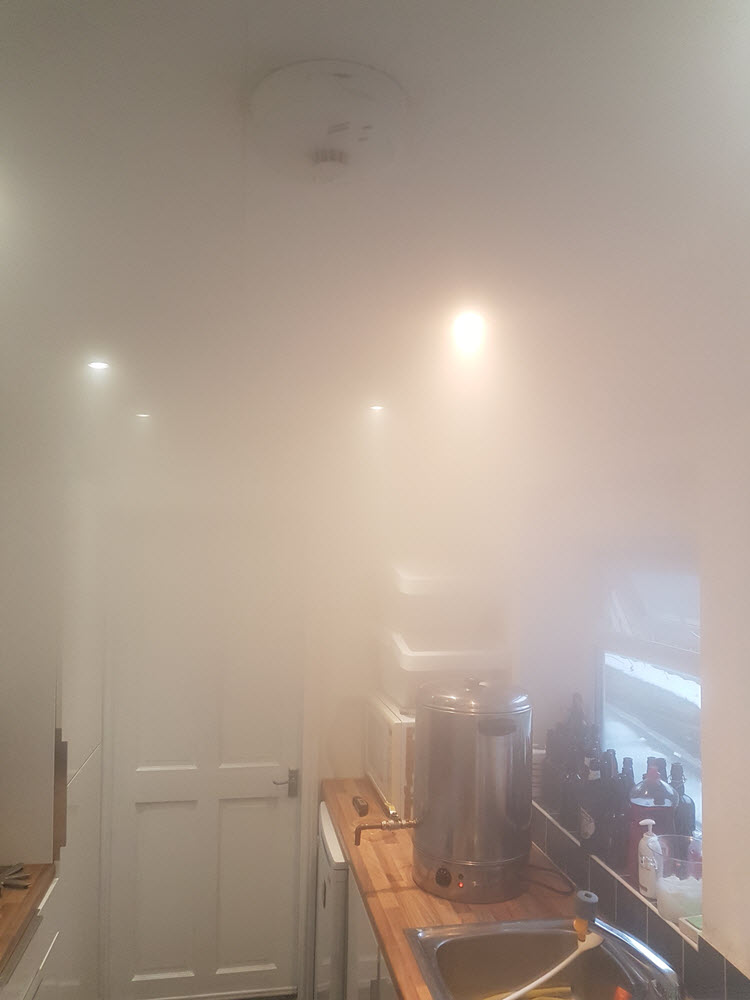
Whoops – it’s a bit steamy, best open a window and a door!
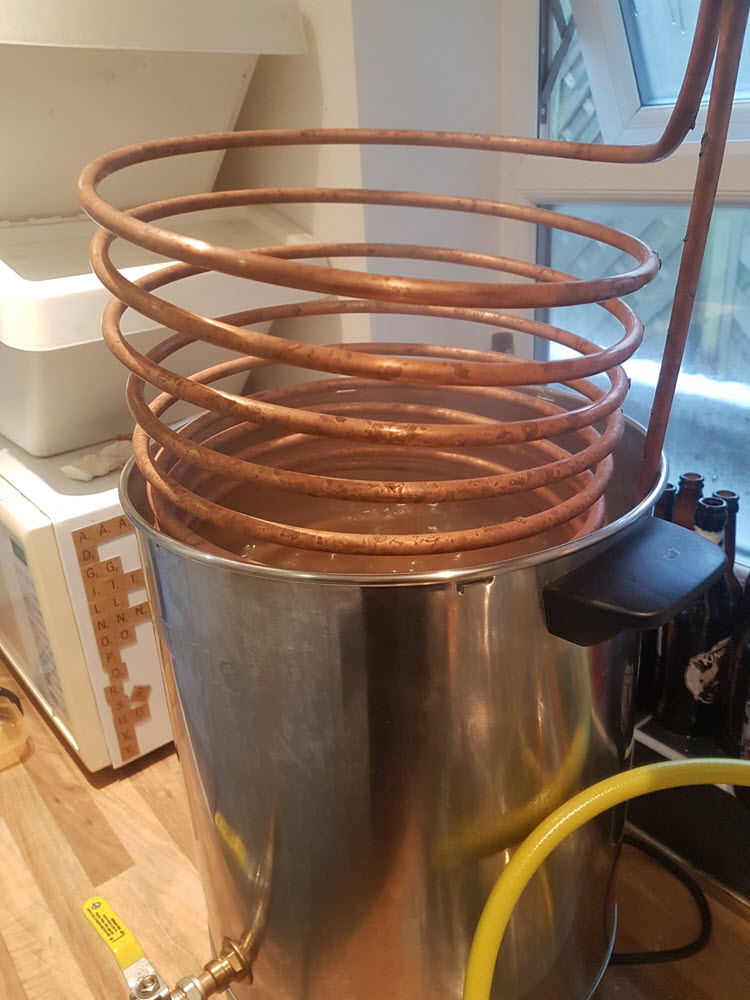
The cooling coil, which Ben made from a length of copper and hose piping, gets added to the boiling wort about 15 minutes before the temperature is changed to make sure that it is sterile.
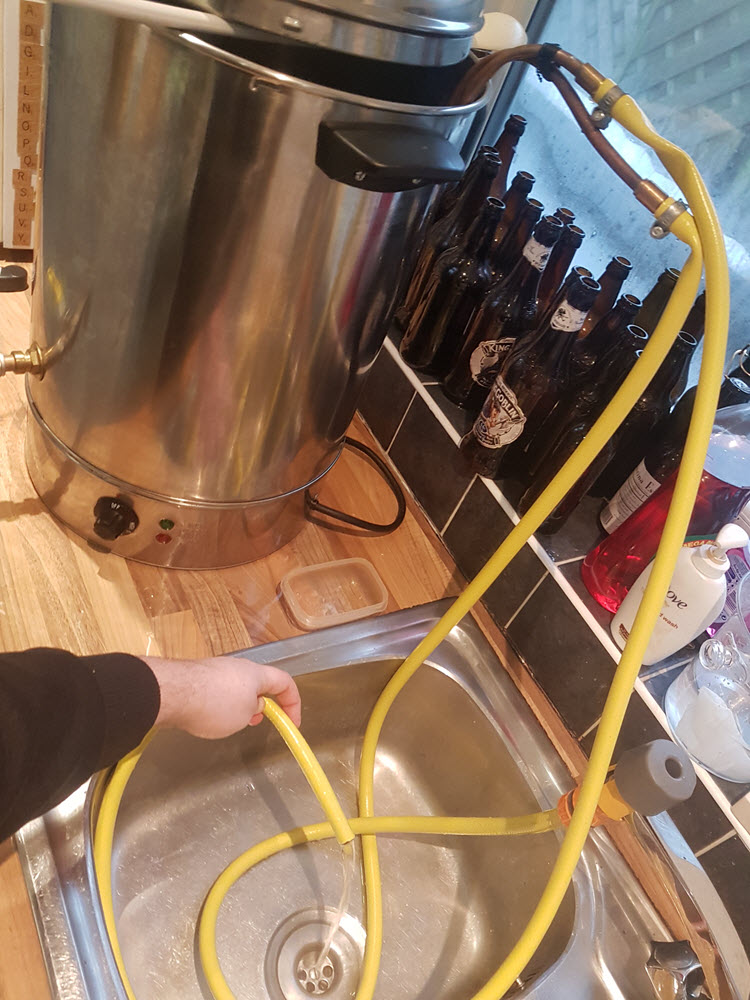
After a total of 75 mins the kettle is turned off and cold water is passed through the coil to drop the temperature.
When it reaches 80°C the cold water is turned off and two more lots of hops are added (25g Centennial and 15g Simcoe). They steep for 15 minutes at 80°C. After 15 mins steeping, the wort is dropped to below 30°C.
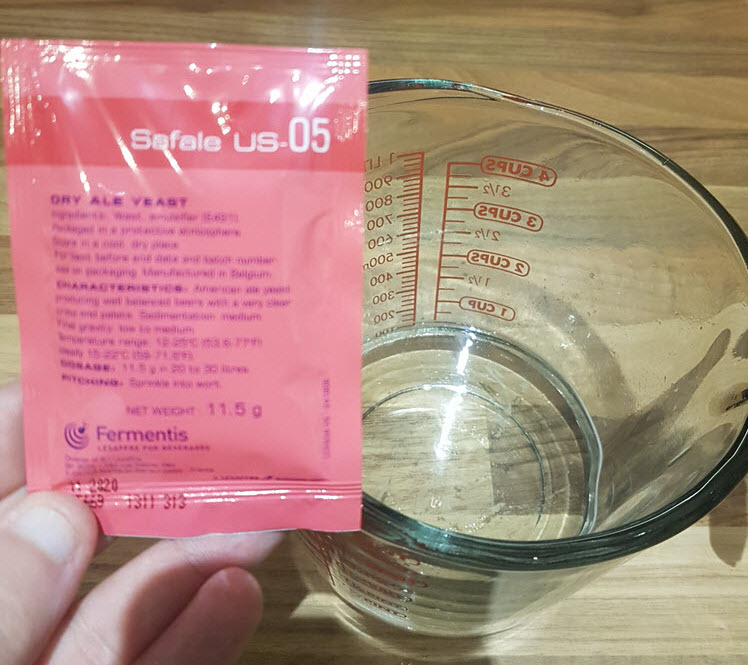
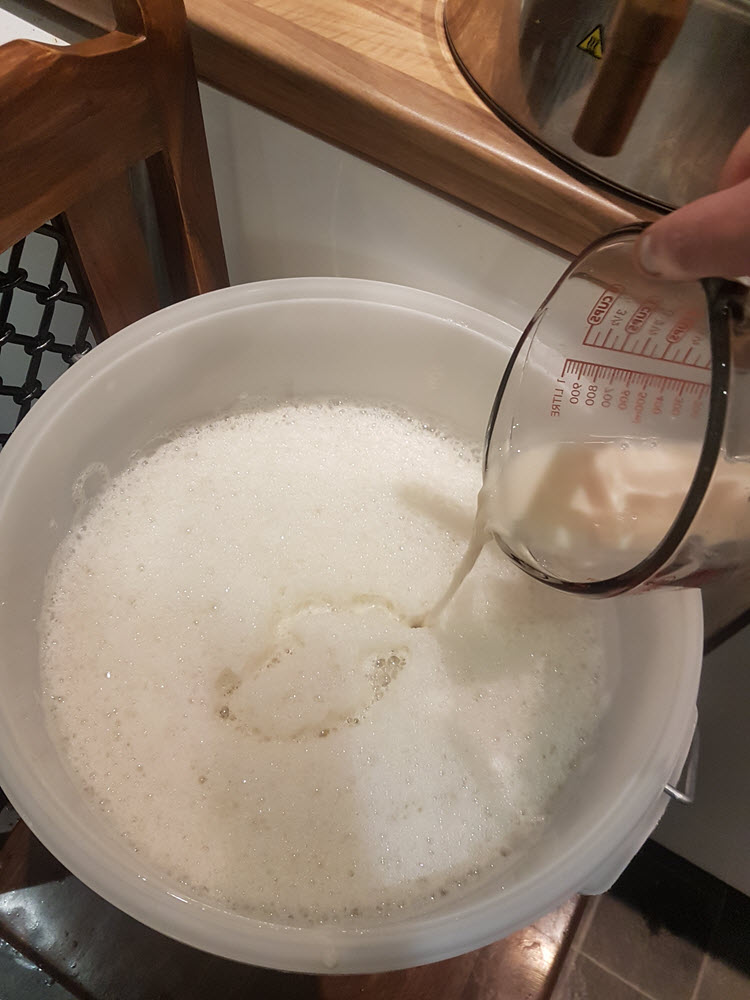
Step 7: Adding Yeast
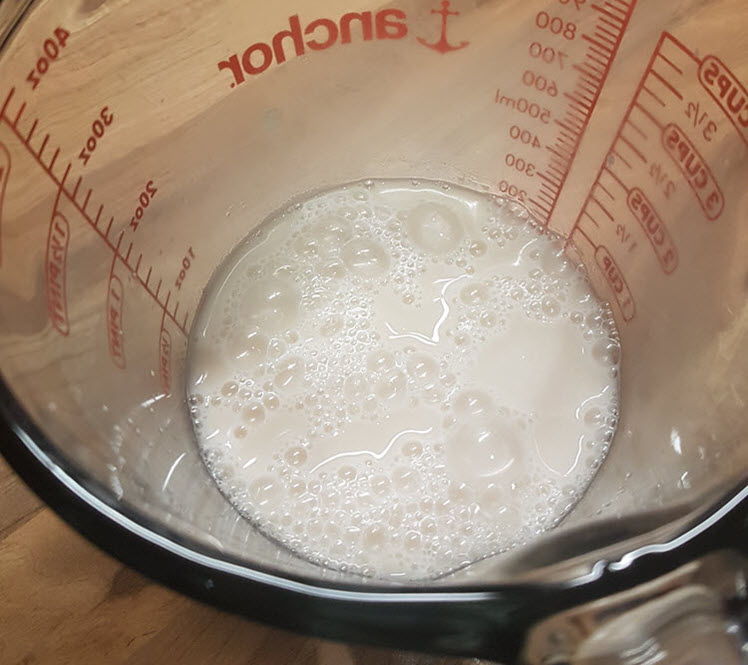
The US-05 Yeast strain is dried inside the packet so warm water is added to re-hydrate it.
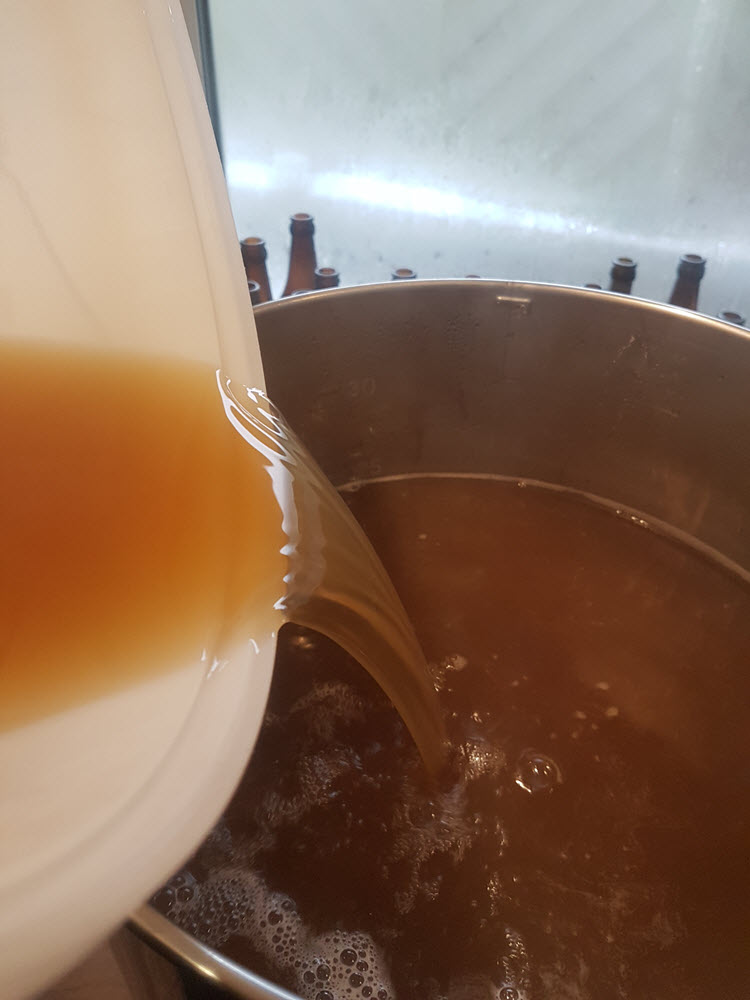
After cooling, the wort is transferred to a fermenter.
It falls from a height to allow a bit of oxygen to be absorbed by the liquid as this helps the yeast in its first few days.
Another gravity reading is taken, there’s now less water in it as its been boiled off so our ‘Starting Gravity’ or more commonly referred to ‘SG’ is 1.045.
The yeast is then added to the cool wort.
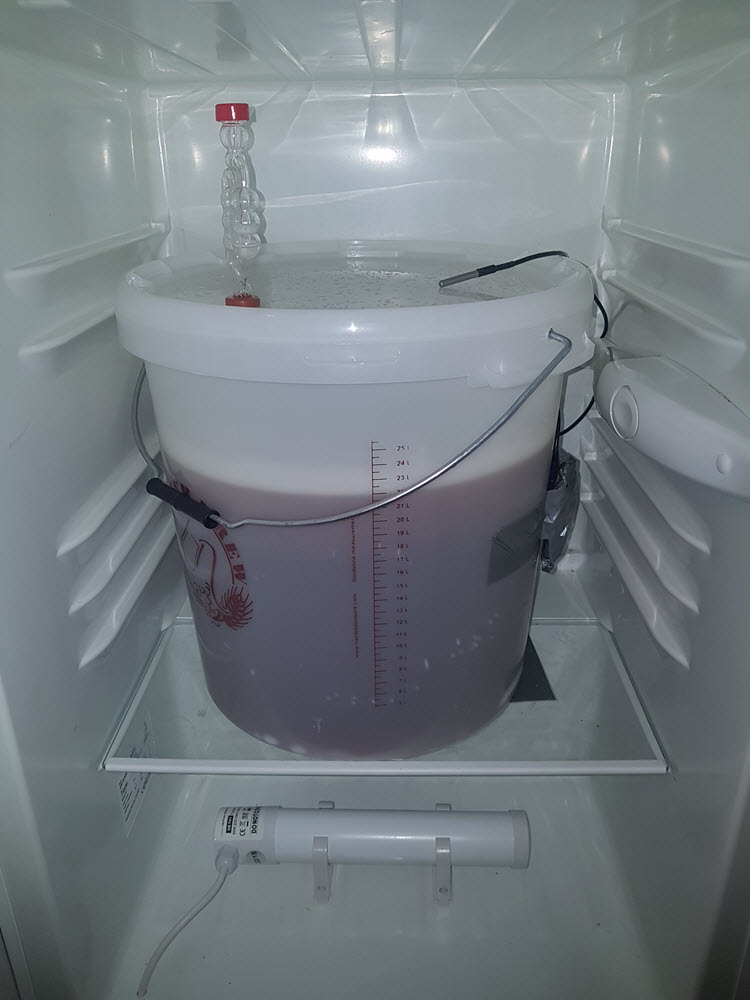
Step 8: Storage, Fermentation and Automation
The lid goes on the fermenter, an airlock is added to allow carbon dioxide gas to escape but to prevent oxygen from entering, and the bucket goes in Ben’s temperature controlled fridge.
You can see one temperature probe on top and another taped to the right hand side. At the bottom is a heater so the fridge is able to heat as well as cool the contents.
It will take about 10 days to ferment, converting the sugars to alcohol and in about 8 days the dry hops will be added.
At the end, the ‘Final Gravity’ (FG) reading is taken. Ben is expecting an ‘FG’ of 1.008. The difference between the two gravity readings tells us how much sugar has been consumed by the yeast and in turn, the alcohol content can be calculated (estimated currently at 4.8%).
Once its finished fermenting, the fridge will cool the beer to 3-4°C, which will help any hop and yeast residue fall out of suspension, and it will be transferred into a keg and carbonated in time for DriveWorks World 2018!
Of course Ben has automated the next steps of the brewing process.
Ben simply puts the beer in the fridge, lets’ the fridge know it has started and the rest happens automatically.
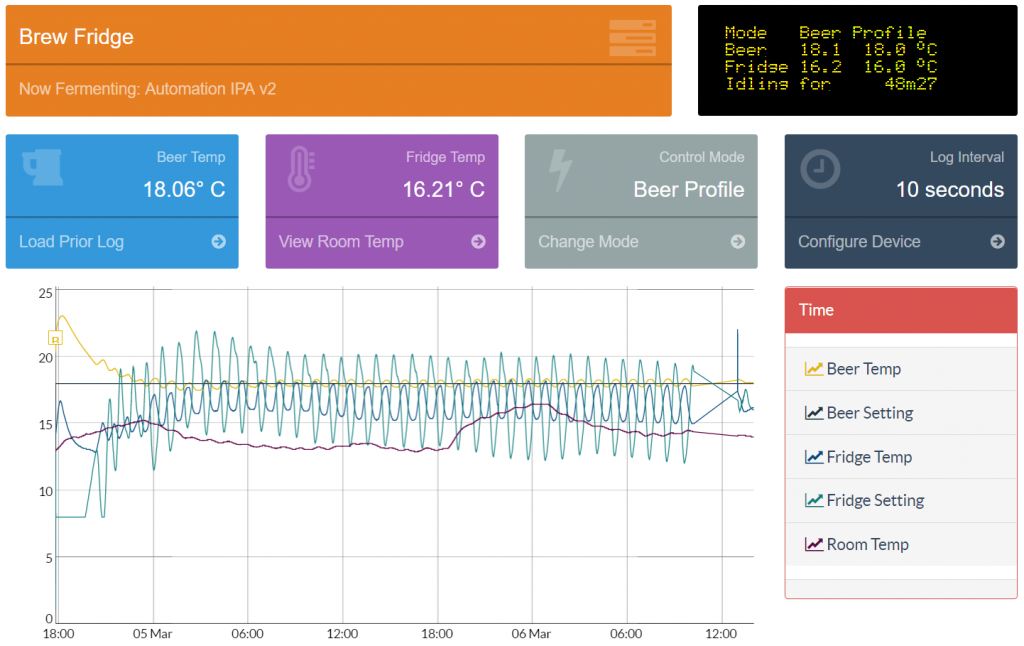
The fridge alternates between heating and cooling to maintain a steady beer temperature. The fridge automatically turns on if the beer is too hot, the heater turns on if it’s too cold and sits idle if the temperature is between 0.2-0.3°C.
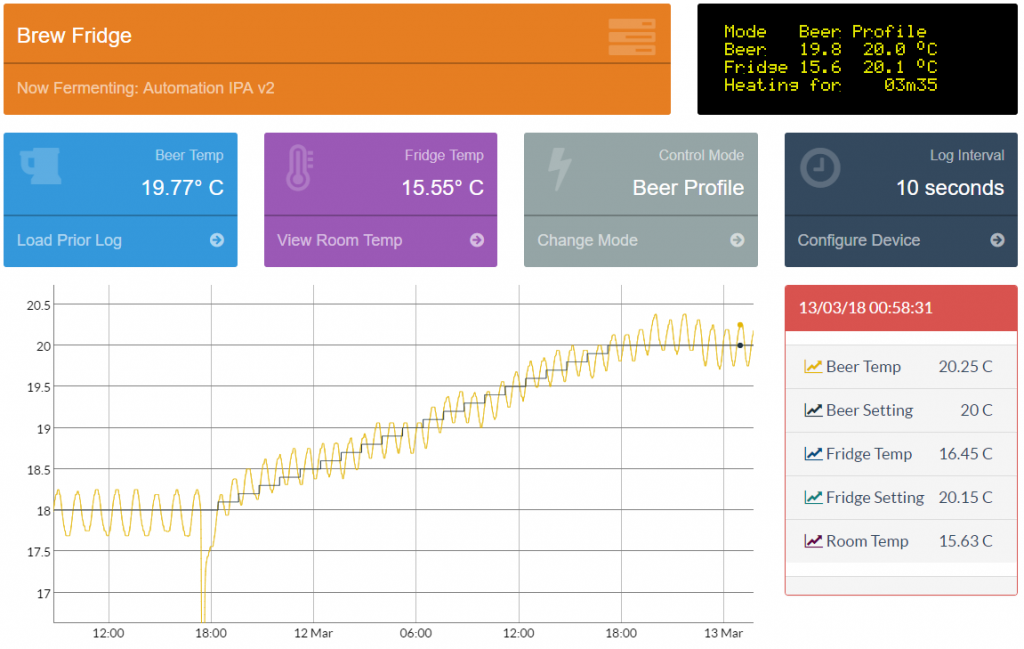
It’s also been set to automatically raise the temperature incrementally as it approaches the end of fermentation to help the yeast finish.
After 7 days at 18°C, the fridge knows to automatically increment to 20°C over the space of a few hours, sit at that temperature for a day or two and then quite rapidly cool the beer down to around 4°C.
The dashboard that monitors the fridge has been added to the screens in our office so we can all keep track of the brewing process!